Today was a great day for sewing since we got a pretty good snow storm. Four to six inches of snow means is my time to hibernate in my sewing room and work on a fun project.
A couple of months ago I went to Boulder and discovered my new favorite fabric store, Elfriede's Fine Fabrics. It is a beautiful store with loads of gorgeous and high quality fabric for garment sewing. Most places around here cater to quilters so I absolutely loved this store!
0 Comments
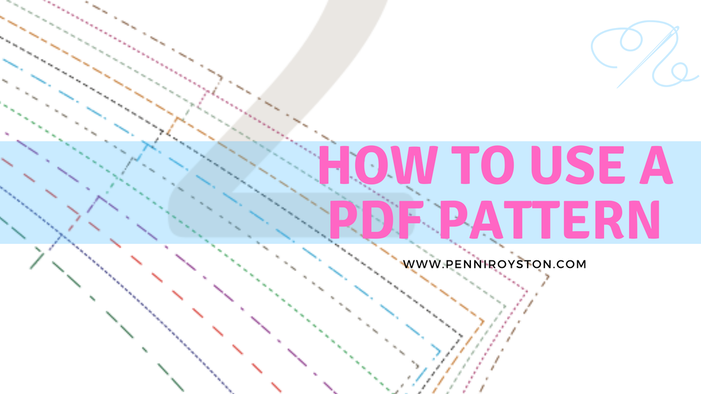 Patterns are an important part of the sewing process. I love to browse through the pattern books at the fabric store and now, with technology, we can browse online too! Lately I have been sewing a lot of indie patterns. When you purchase a pattern from an online store you now have the option to download a printed copy from some companies. This saves you time, sort of. You still need to print and assemble. I recommend you assemble the pattern on a dining table. At first I tried using the floor and then a coffee table. That didn't work well. Then I found my grove in assembling the pattern pages. I clear off my sewing table for the task. It's just a rectangular table I found at IKEA, but a dining table would work just fine. My sewing table measures 31" wide and 63" long just to give you an idea. But by all means use what you have! Assemble the pages according to the pattern instructions. I line up 1 row at a time and tape each page with scotch tape. Then I add another row. Then another row until all of the pages have been taped together. Using paper scissors cut out each pattern according to the size you decided to make. There is usually an option to download a large printer format copy to send to your print shop. Personally I haven't printed any that way yet. I use the print and assemble method. 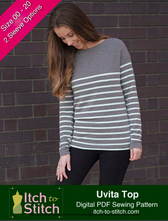 There are many wonderful indie pattern companies. Here are my favorite so far: For this 2-part video sewing project I chose the Uvita Top by Itch to Stitch. It's a free download you can find here: https://itch-to-stitch.com/product/uvita-top-digital-sewing-pattern-pdf/. This week we're focusing on the pattern and sewing preparation tips. Next week I will post the sew along video so you can see the whole process from start to finish. This is a simple dropped shoulder pattern that requires a 2-4 way stretch knit. Do not use this pattern for a woven fabric as it just won't fit well. The cool thing about this pattern is you have the option to buy a companion which offers a lot of options. There's an option to add patch pockets, kangaroo pocket, hood, and sleeve variations. And it's only $5! Here's the link for the add-on pattern: https://itch-to-stitch.com/product/uvita-top-add-on-digital-sewing-pattern-pdf/ SOFTWARE REQUIREMENT: You will need to use Adobe Reader to print the pattern. It's a free software program you can download. Some pattern companies allow you to print only the size you need so you don't have so many confusing sizing lines to work around. Read your pattern instructions carefully. Adobe instructions are usually included. Make sure that you choose “Actual Size” or scale to 100% in the print dialog box. Select “Auto portrait/landscape” or “Auto Rotate and Center” under Orientation. Here are the steps I take when I use any pattern:
Be sure to respect the terms of use by each pattern company. You may not sell or distribute the pattern or instructions in their digital or printed form. If your friends or family would like to have a copy, please refer them to the company's web site. Be sure to watch the video below to get step by step instructions how do use a pdf pattern. Also be sure to like and subscribe to my channel! Happy Sewing! Penni * Affiliate Link
 Do you love to design and have some sewing experience? Then the Fit Nice System is for you!
Last weekend I had the pleasure of attending a two-day workshop and learned the ins and outs of this type of pattern drafting. In the class we used the Fit Nice Pants Pattern and made a pair of pants that fit like a dream! Everyone has a unique shape and the ready to wear sometimes just doesn't fit to truly flatter your figure. Judy Kessinger has solved the problem! Visit her web site to learn more about her innovative way to draft patterns. She has tons of videos to help you along the way. Once I made my pattern I decided to make a simple long sleeve top with a soft cowl neckline. Here are the pattern pieces I used:
Basic sewing instructions:
All in all this top was easily created in an evening. I did serge the seams and added easy knit to the top of each shoulder. This adds stability to the shoulder seam along with a little bit of structure. This top was super comfortable! My daughter told me it looked like something I would buy at Chico's! Wow! What a complement because I love to shop at Chico's. Take a look at the video and be sure to subscribe to my YouTube channel. If you have any questions, please do not hesitate to contact me! Happy Sewing, Penni |
Penni RoystonHi! My name is Penni. I've been sewing most of my life. I love fashion sewing whether it's for a special occasion or for everyday wear. Join me and I will teach you how simple sewing can be! Archives
February 2020
Categories
All


Now on Facebook @
institcheswithpenni |
 RSS Feed